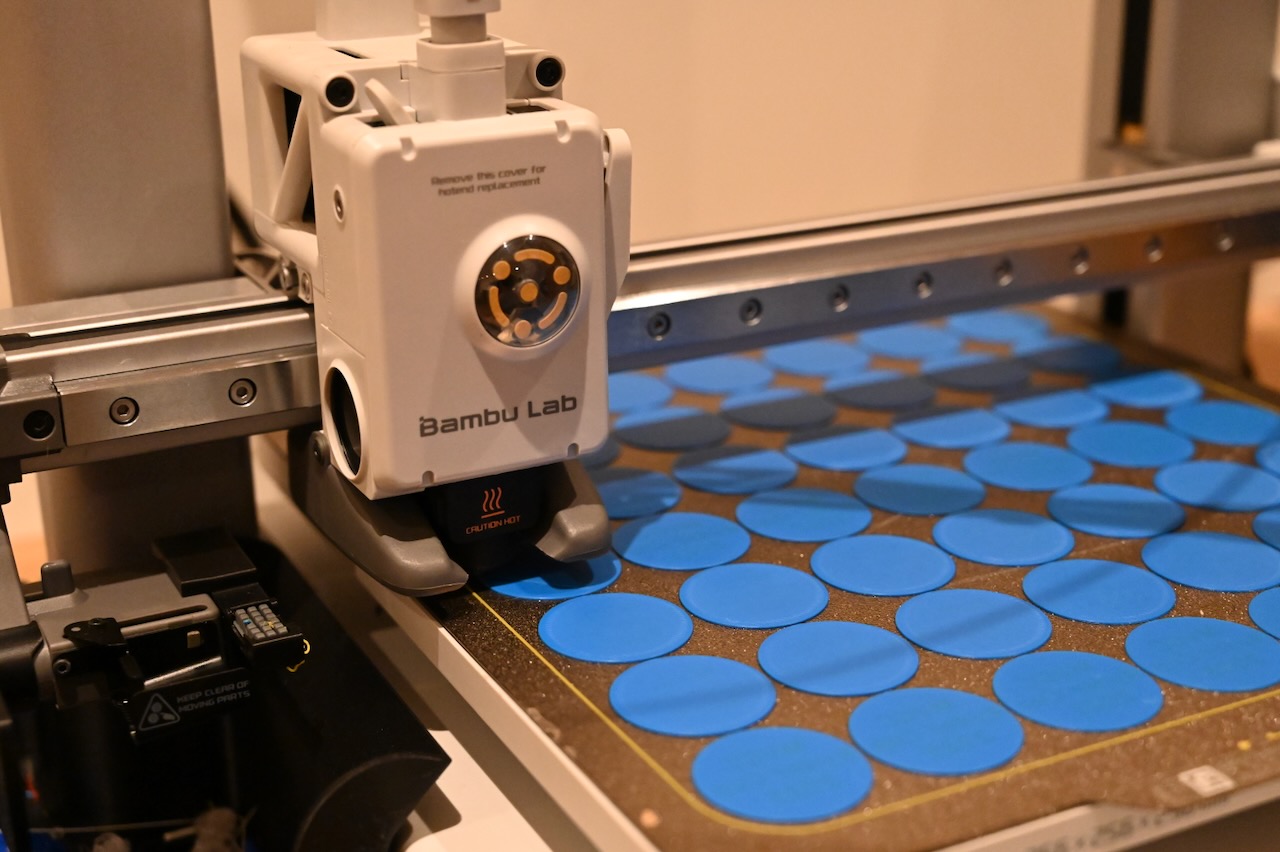
Hi Max. Can you make me some Flat Tees with your 3D printer?
August 30, 2025. That’s when I got this text from my friend’s dad.
Context
Okay, that message might not give you much information.
Earlier, he showed me the Flat-Tee, a “Flat Out Better Tee.” It’s usually used on driving range mats, where traditional tees won’t work.
To be honest, maybe he should have just bought the original Flat-Tees instead of my custom-made version.
To set the record straight, I did not make any money on this design and only used them for my own personal use. Please don’t sue me!
Back to the story—I started my first revision.
Revision 1
I opened the software I use for 3D design is Autodesk Fusion 360, and created a new file: flat-tees.f3d.
With one of the original Flat-Tees for reference, I meticulously measured each and every dimension.
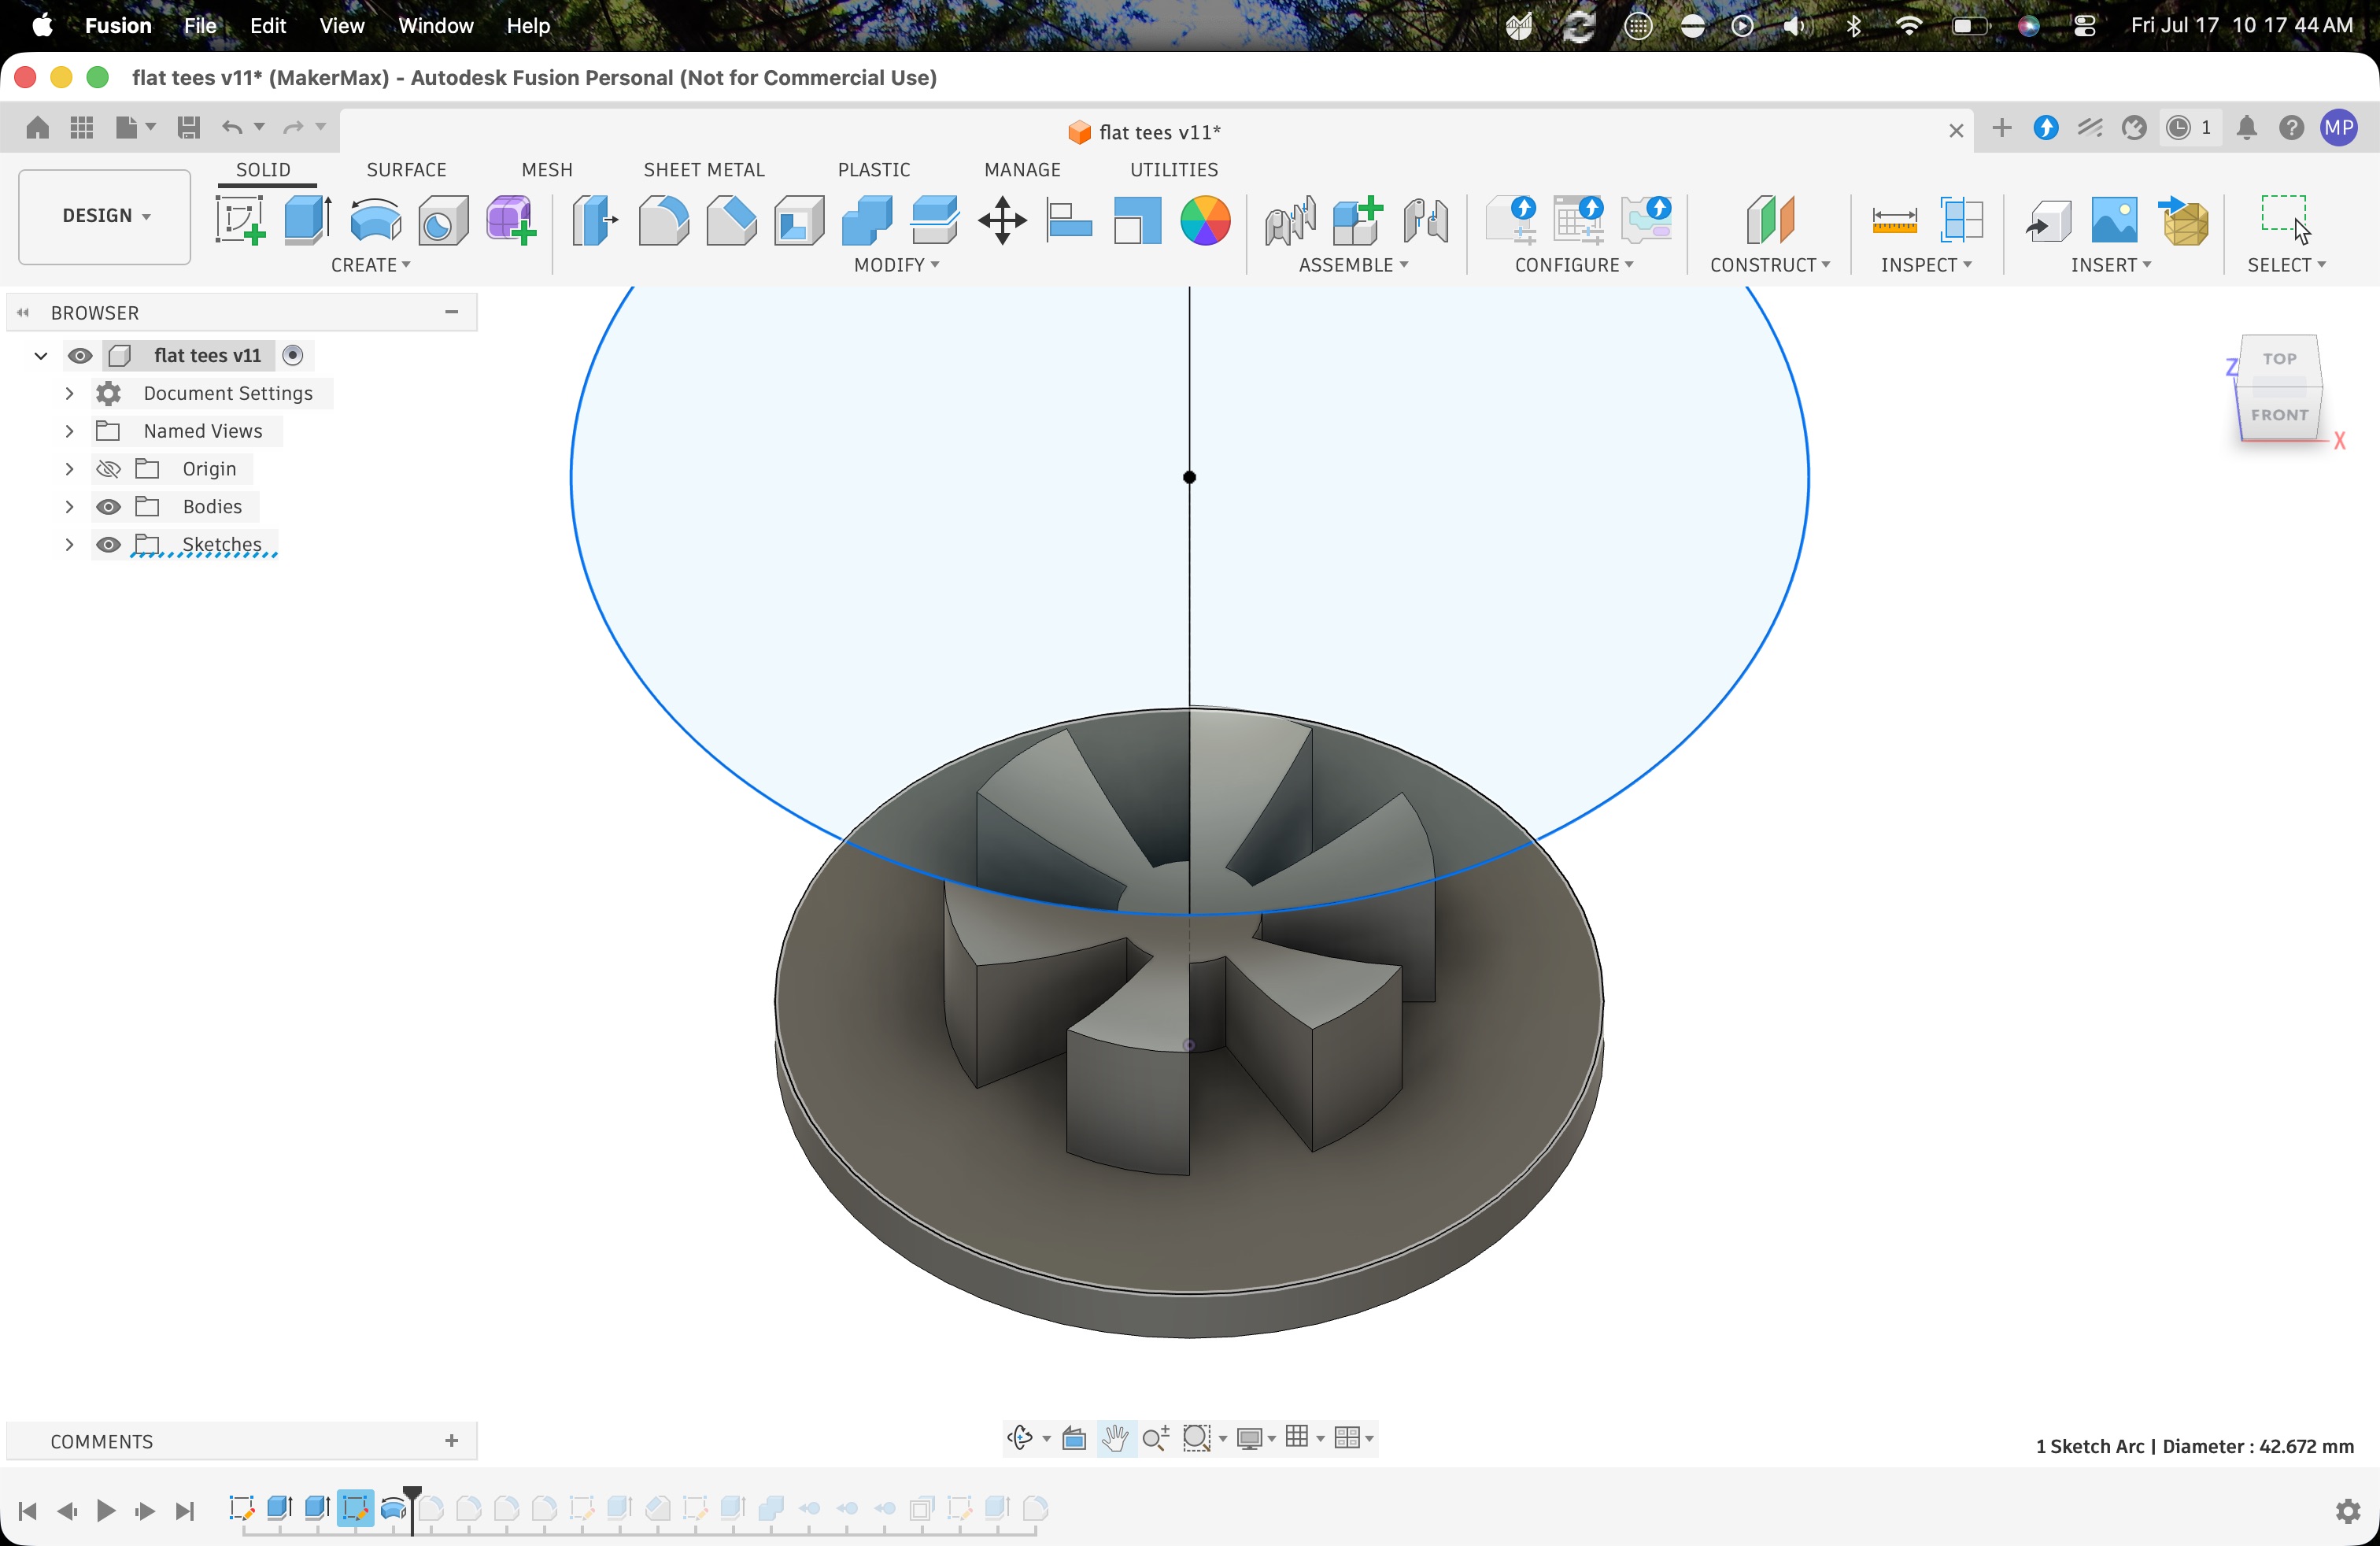
I first extruded a circle as the base with a shape that looked like a mix between a star and the center-of-mass symbol. Then I sketched a sphere the size of a golf ball and revolved it to cut out a space where the ball would sit.
That was basically it—I rounded edges and added text on the bottom—and I was finished!
After only a half-hour of printing, my model turned from an image on a screen to an object in my hands. I grabbed a random golf ball from the garage and put it on the tee.
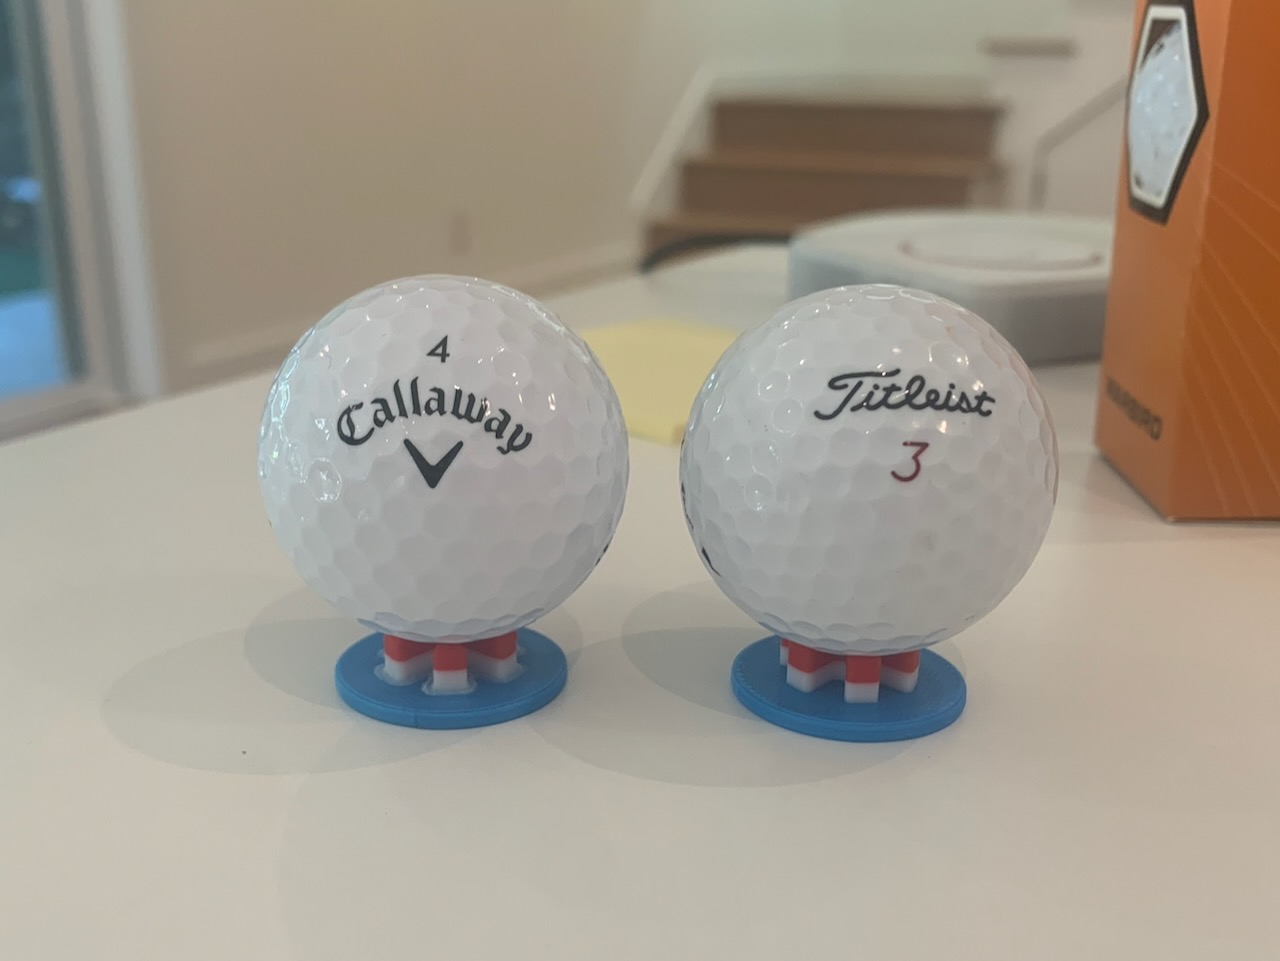
I texted my friend’s dad a picture of my creation:
“Amazing! Can you make the part that sticks up a little angled so it will break less? You want to pegs to slant from the bottom into the center like a pyramid—you want that impact of the club to be reduced by the slant. Also the center can be lower and the pegs can be a little closer together so the ball is resting on the pegs.”
I agreed—this was called “Revison 1” for a reason. It was time to try again.
Revision 2
Instead of using the same model for my changes, I decided to start from scratch.
I created a cross-section sketch, with the circular disc, slanted pegs, and cut-out for the ball.
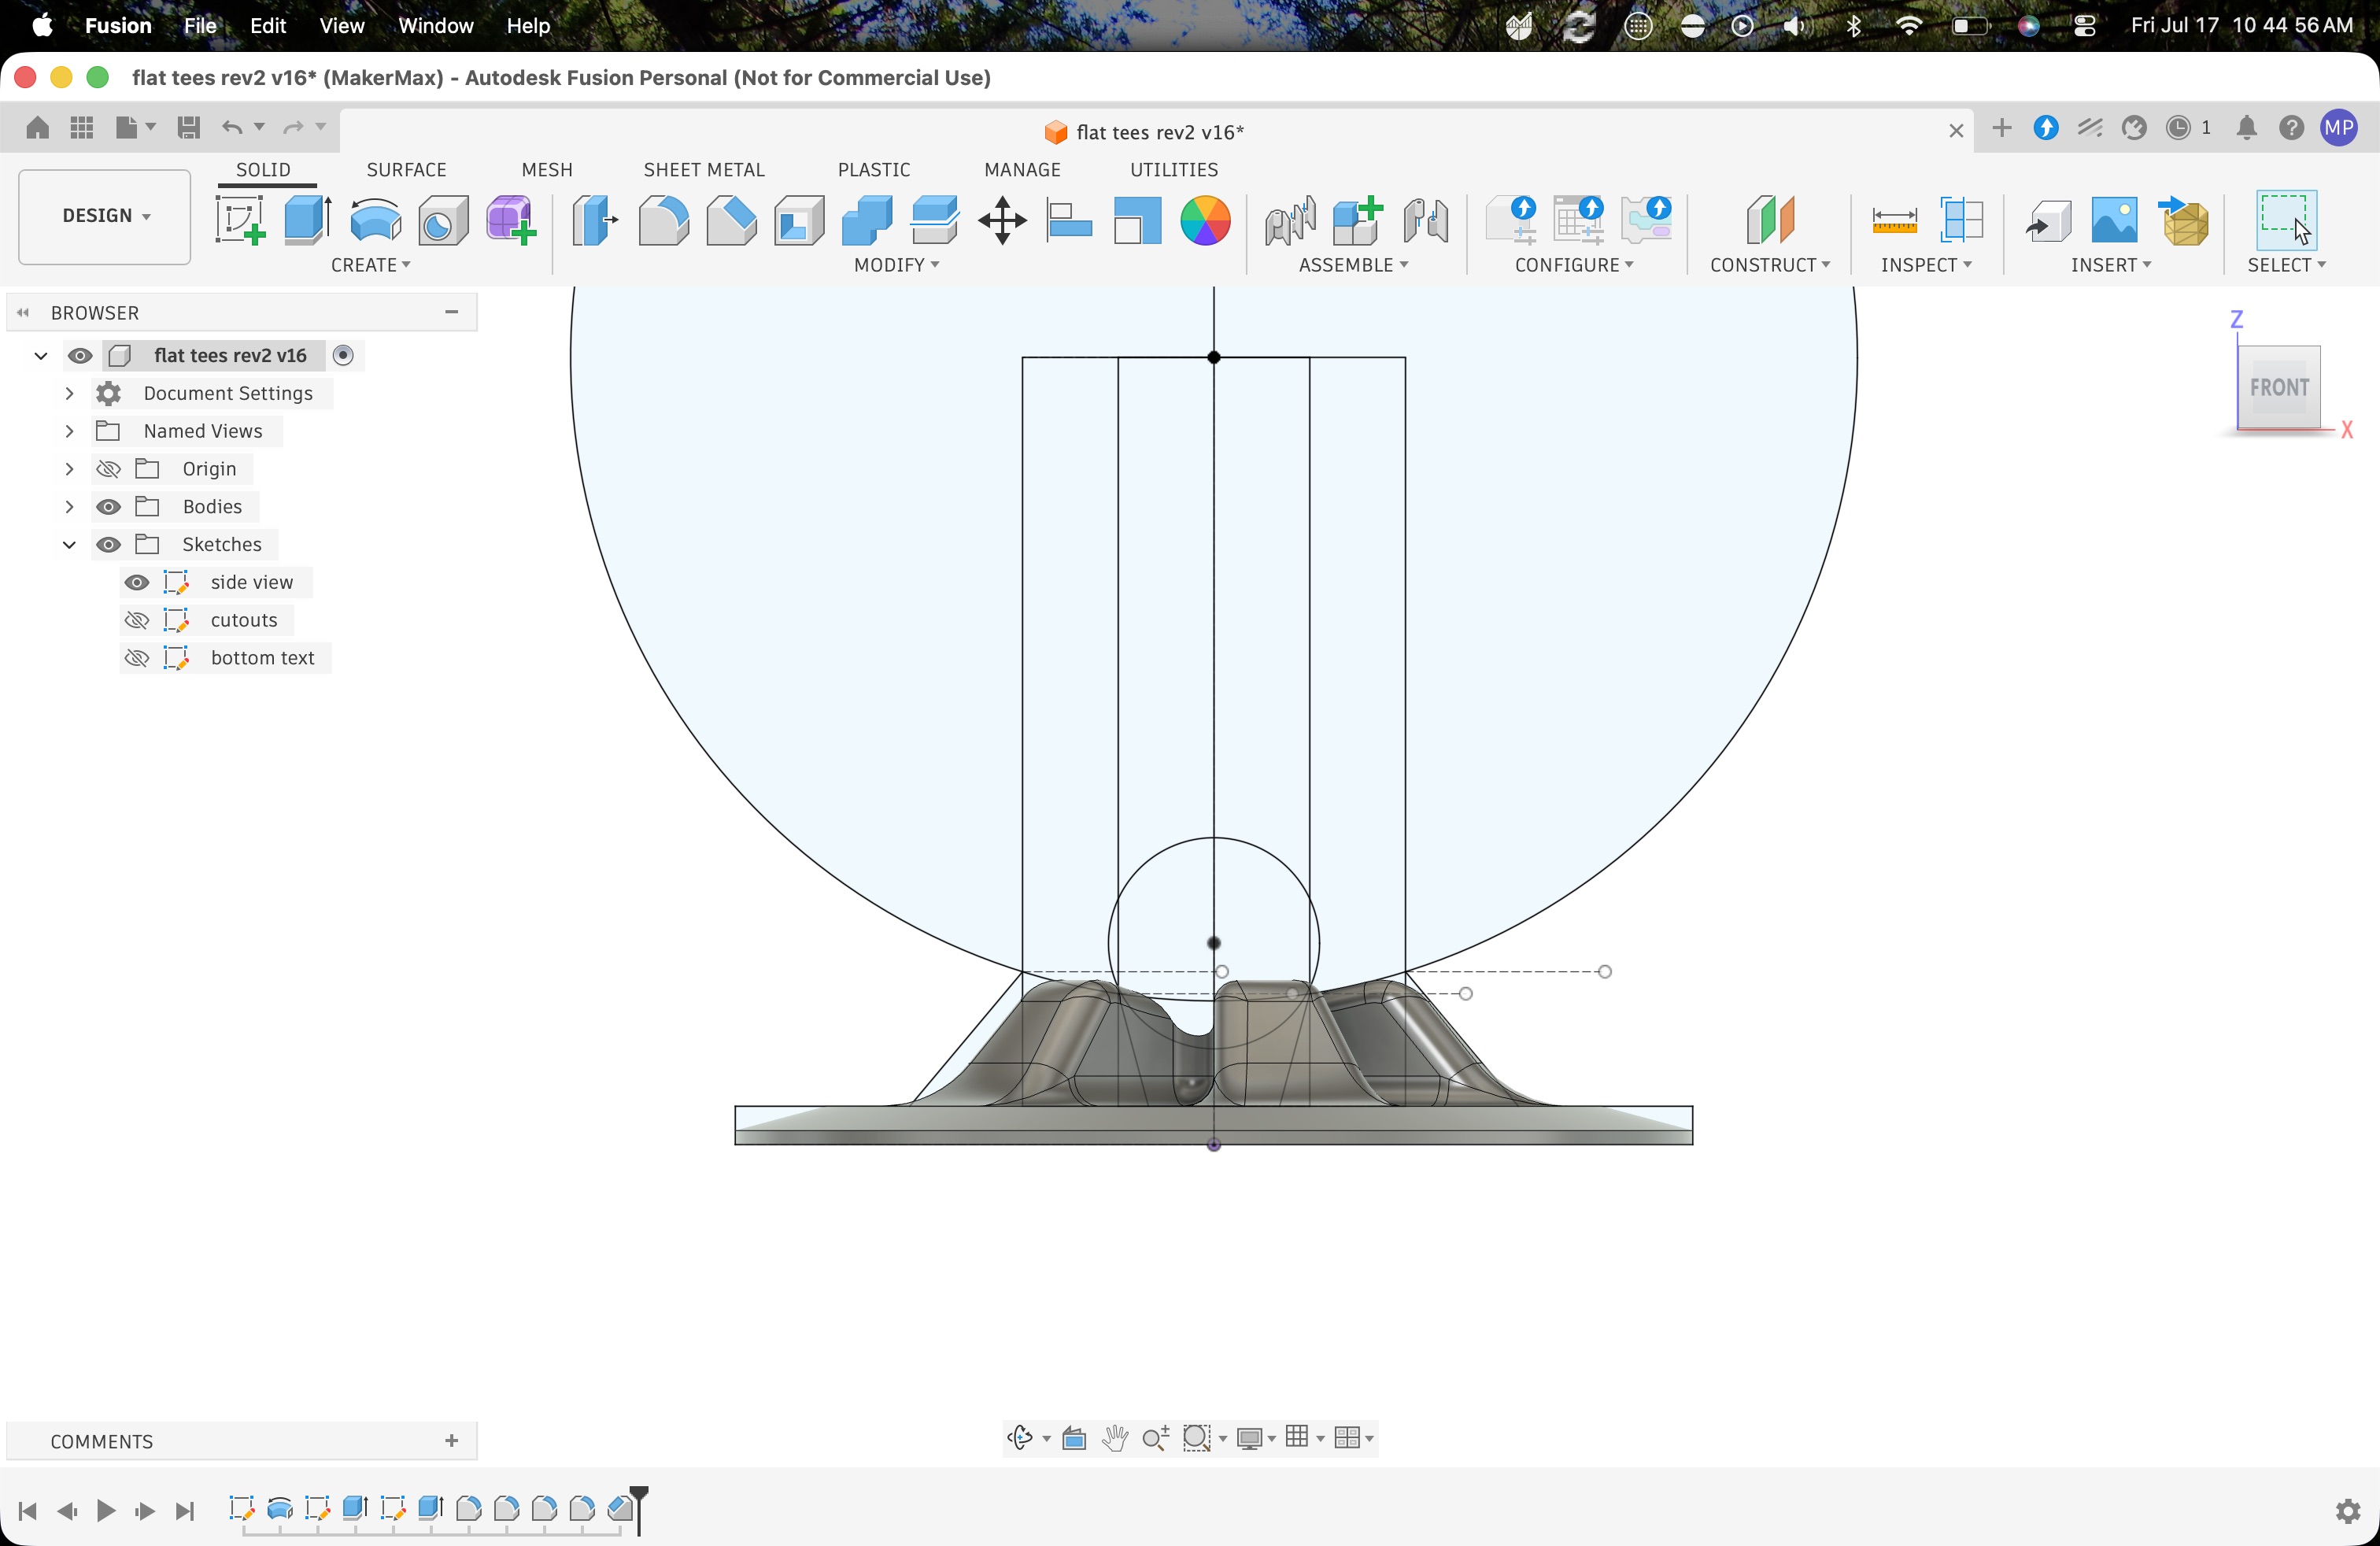
There wasn’t much else to it—I added a shallow chamfer to the edge of the edge, added the same text, and rounded edges.
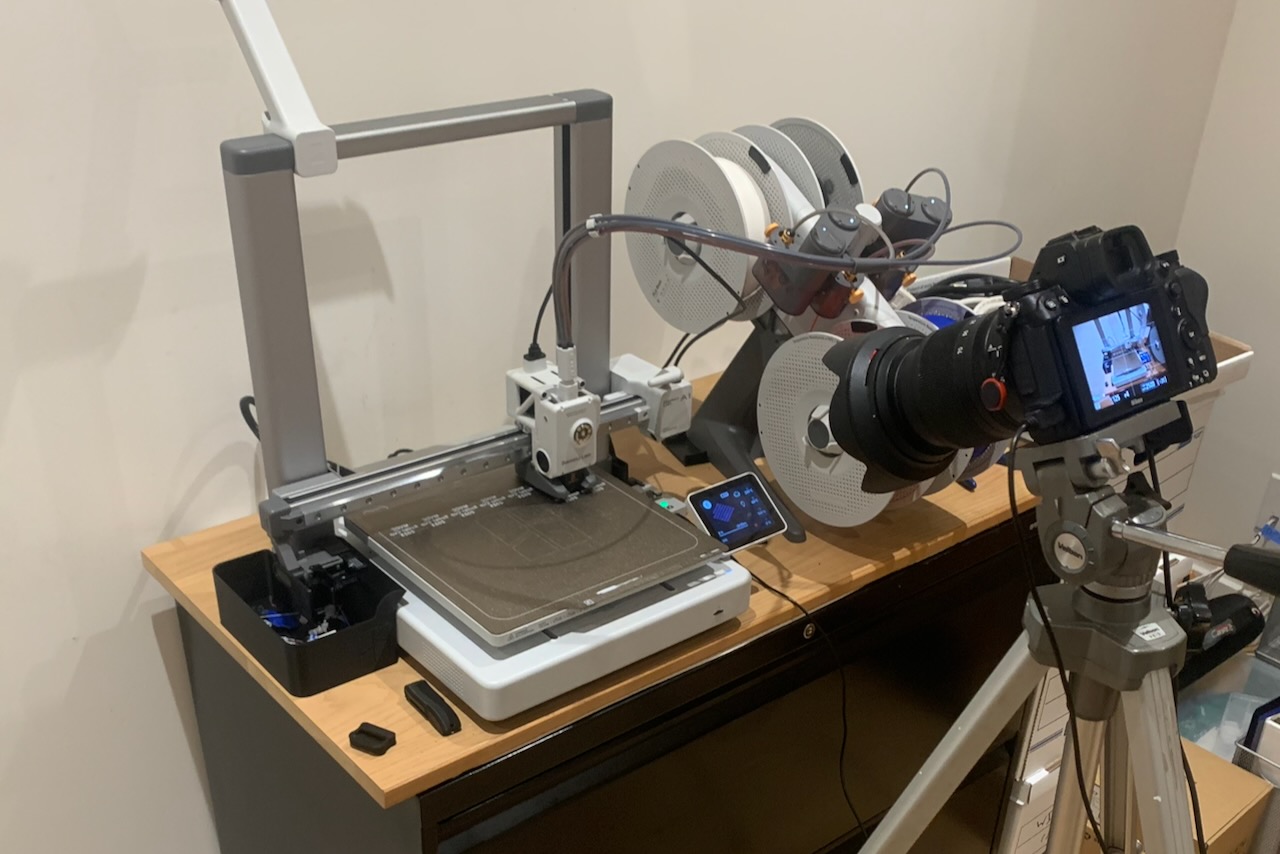
The Flat Golf Tees were finished! I printed as many as would fit on my build plate, of course taking a timelapse, and waited until the next morning to see them in all their glory.
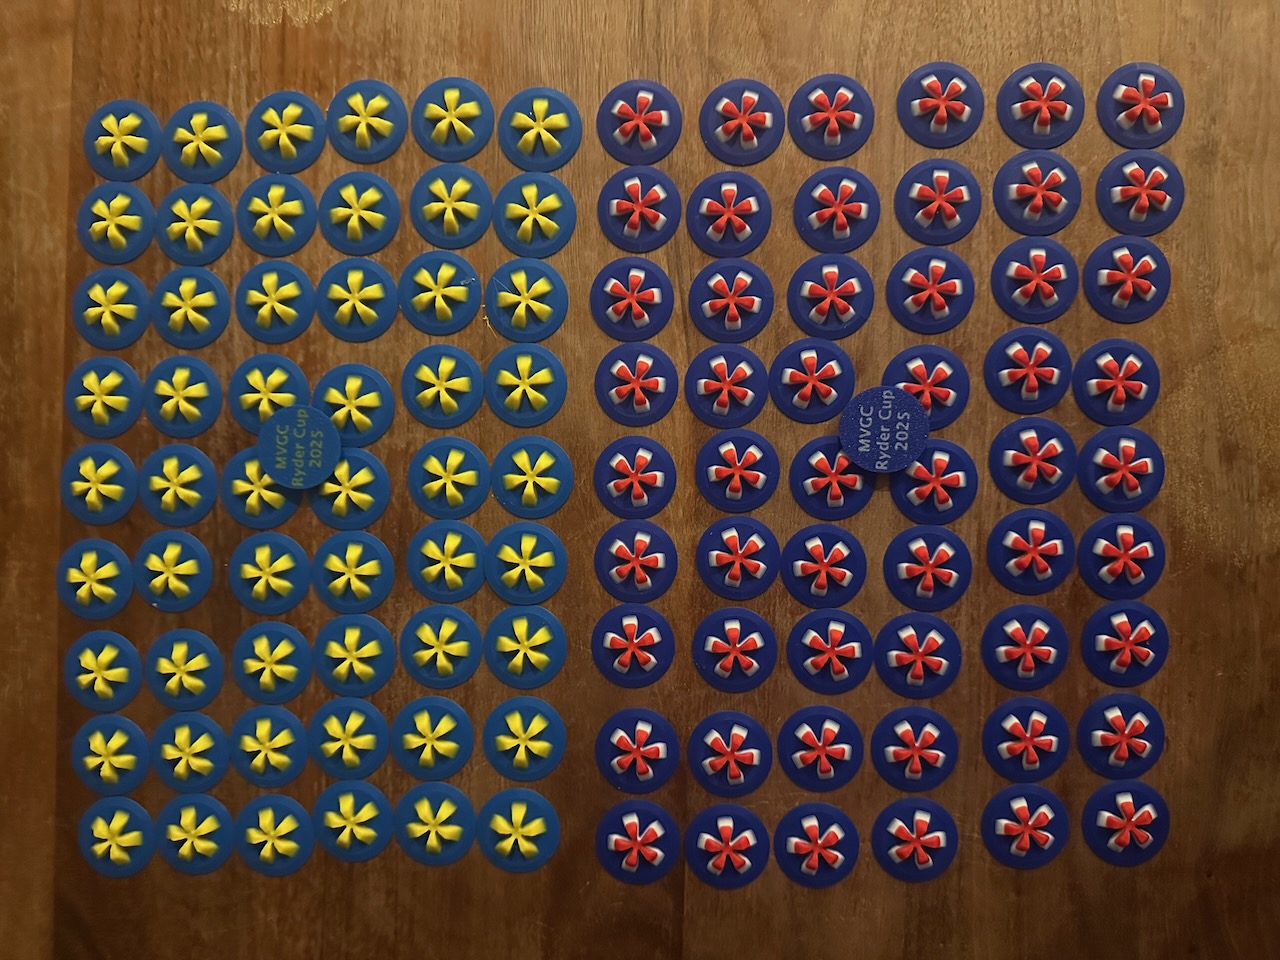
My friend’s dad asked for 110 golf tees total for a competition at a local golf course—55 for Team USA and 55 for Team Europe.
Reflection
This project taught me a lot—from how to design and manufacture custom parts for a “client,” how to iterate through multiple prototypes, and how to (legally) infringe on a inventor’s product.